The Complete Guide to Clarinet Reeds
Let me begin with an unorthodox yet effective introductory quote from Sun Tzu’s The Art of War: “If you know the enemy and know yourself, you need not fear the result of a hundred battles. If you know yourself but not the enemy, for every victory gained you will also suffer a defeat. If you know neither the enemy nor yourself, you will succumb in every battle.”
If you prefer something more succinct, allow me to paraphrase Forrest Gump: “Life is like a box of reeds – you never know what you’re going to get!”
I’ve created this Complete Guide to Clarinet Reeds as a resource to help clarinetists of all ability levels learn more about clarinet reeds and how to make them work more effectively for you. I’ve written several articles about reeds, which I’ll link throughout and at the end of this article. (Click here if you want to jump down to the list of reed articles, and click here to skip ahead and see what reeds I use and recommend).
I know reeds can be a great source of frustration for many clarinetists, and I hope this article helps you understand, select, and care for your reeds to make them work with you and not against you.
Without further ado, let’s dive in to the world of clarinet reeds!
What is a clarinet reed?
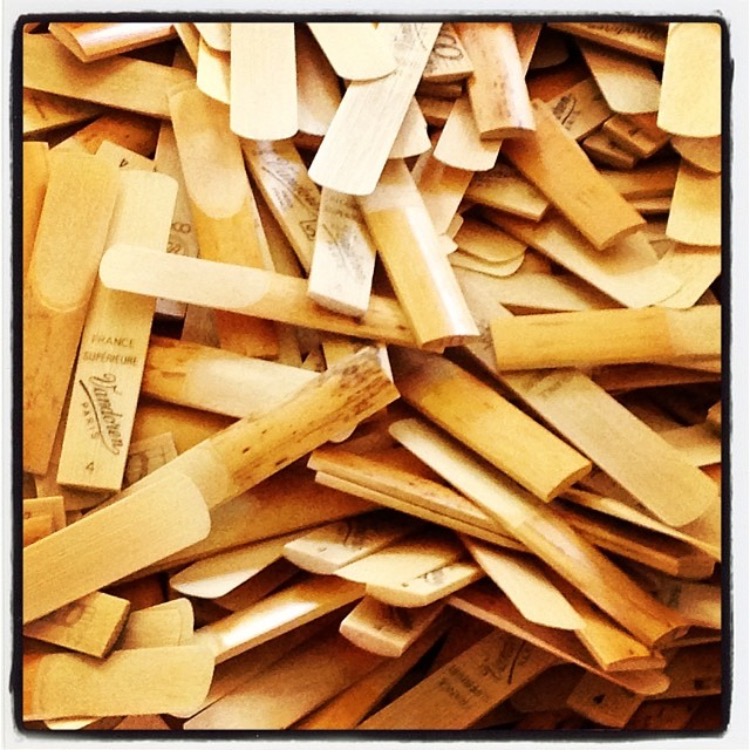
Clarinet reeds are thin pieces of cane (Arundo donax, to be more precise) which are held against the clarinet mouthpiece with a ligature. As a single reed instrument, the clarinet requires one reed to produce a sound, which is created from the vibrations of the reed against the mouthpiece.
Clarinet reed vocabulary
- Strength. Reed strength is the reed’s flexibility. Many musicians commonly mistake reed strength for reed thickness or amount of cane, which is incorrect. Machines are used to measure a reed’s flexibility, and reeds are then divided into ranges or strengths based on their flexibility. Lower strength reeds (for example, strength 2) are more flexible and generally easier to produce a sound. Harder reeds (for example, strength 5) are less flexible and may be difficult to produce a sound without the proper mouthpiece. (See below for more about the relationship between reeds and mouthpieces.) Typically, strengths are in either quarter or half strengths, depending on the brand. You might also see a + to denote a slightly harder strength (such as Vandoren’s 3.5+ reeds, which are between 3.5 and 4). Keep in mind that strengths can vary between different brands and cuts.
- Cut. A reed’s cut is the reed’s tailoring or “design.” You might not notice many differences when looking at reeds, but if you measured different cuts, you would see that some are thinner or thicker in different places. This creates a different feel, response, and sound. To further break down reed cuts, there are filed and unfiled reeds:
- Filed (French cut). Filed cut reeds have a straight line above the heel.
- Unfiled. Unfiled reeds have a U-shape above the heel. (Read this Vandoren article to learn more about filed vs. unfiled.)
- Xylem. You might remember this word from plant science. The xylem are the tiny tubes that run the length of the reed. Through capillary action, the xylem keep the reed wet by circulating water.
- Heel, vamp, rail, heart. Check out this photo from Vandoren to see the anatomy of a reed. (Contrary to popular belief, reeds aren’t heartless! ❤️)
External factors which affect reeds
Sometimes, it can feel like everything affects your reeds, from the weather to what socks you wear! (Kidding…mostly!)
You have to remember that reeds are essentially “plants,” so they are prone to react to various environmental changes. Here are some of the biggest factors which can affect your reeds:
- Temperature/humidity. Low humidity=💀 reeds
- Altitude. Higher altitude=harder reeds. Higher altitude makes reeds harder, so I suggest bringing softer reeds when you perform in higher altitude than your normal environment.
- Age. Older reeds lose their vibrancy due to normal wear and tear.
- Debris. Check your reeds regularly for dirt, debris, and even mold (yes, it can happen!)
How to choose the right reed for you
Finding the best clarinet reed for you and your setup is a lot like searching for the perfect pair of jeans. There will be a lot of trial and error, but once you’ve found the one, it will be worth the effort.
I’ve written an in-depth article on how to select a clarinet reed which I highly recommend you read. To summarize, you should try several different brands, cuts, and strengths to see which feels and sounds best for you. Pro tip: Reed strength is greatly determined by your mouthpiece’s tip opening. There are several charts like this one from Vandoren which offer recommended reed strength based on your current mouthpiece. Use this as a jumping-off point to try different reeds until you find the one that works best for you.
Another consideration is cane vs. synthetic. Both have their advantages and disadvantages, and I wrote an entire article covering this topic.
An important note about reed strength: Reed strength has no correlation to your ability as a clarinetist! This is one of the biggest myths I see in the clarinet world, with many clarinetists believing that better players play harder reeds. Professional players play a wide variety of reed brands, cuts, and strengths based on a number of factors, and their ability is not related to what strength reed they use.
How to break in new clarinet reeds
I know it can be tempting to play reeds straight out of the box as part of your normal practice routine, but this can reduce their lifespan. Breaking in reeds is the process of gradually increasing your playing time on a new reed. This is an important step to make the reed respond the way you want it to, and it will also help make the reed playable for longer.
How does breaking in reeds work? Essentially, you are getting the reed used to the cycle of being used (moisture in the reed) and stored (moisture removed from the reed), as well as exposing the reed/xylem to longer playing times. It’s quite possible to play reeds without breaking them in, but they run the risk of becoming waterlogged, which affects their lifespan.
Basic reed care
As the old saying goes, an ounce of prevention is worth a pound of cure, and this is particularly true when it comes to reeds. I believe a good deal of reed problems can be resolved through proper storage and care.
- Use a multi-reed case. There’s nothing wrong with keeping your reeds in the individual sleeves they are packaged in as long as you are careful when putting them back in the sleeve (RIP to all the reeds I’ve chipped this way!). However, I’ve found that you’re more likely to practice good reed rotation when you use a reed case which holds multiple reeds.
- Storage. You should be storing your reeds in a stable environment which isn’t prone to environmental changes. I use an air-tight sandwich container with a Boveda humidity pack thrown in to maintain consistent humidity. I’m also careful to only take the lid off when I’m selecting a reed and immediately putting it back on once I’ve chosen my reed for that practice session/performance.
- Be careful when handling your reeds. Here are my top tips to prevent chipped reeds.
- Rotate your reeds. It’s important to rotate your reeds so that you use several of them equally. This ensures that you have multiple broken-in reeds which are ready to play. Learn more about reed rotation here.
Reed adjustment
There are numerous methods and tutorials for reed adjustment available, but here are a few various reed adjustment tools and methods:
- Sandpaper (varying grades, depending on the adjustment)
- Vandoren glass reed resurfacer
- Vandoren reed trimmer (make sure to use the one specific to your chosen reed cut)
- ReedGeek products
- Reed knives
FWIW, I believe that finding your ideal cut and strength is half the battle! Once I found “my” reeds, I rarely have to do much reed adjustment. I use a mixture of non-permanent reed tricks to get the reeds to play to my liking, and I’ll share these in a future blog post.
Common reed questions
- What reed strength should I start out on when I begin playing clarinet? I recommend beginning on a strength 2 or 2.5 reed. I love the Juno reeds for beginners since they’re easy to play and sound great.
- Do you need to soak the reed? Yes! Remember, reeds are “plants,” so they need moisture to work properly. You can either soak the reed in your mouth or use a small container of water to soak the reed. Don’t oversoak the reed with too much water or for too long, as this will create a spitty sound. (Learn more about how to get rid of spitty sounds on the clarinet.)
- How long does a clarinet reed last? This varies greatly depending on how much it is used and how well it’s stored and cared for. Generally, clarinet reeds can last for a couple of weeks to a month if properly treated.
- My reed is chipped – can I still play it? The short answer is yes, if it still produces a quality sound. Some tiny chips don’t greatly affect the reed’s sound or response, but larger chips or imperfections will make it difficult to play (and greatly diminish the tone quality).
- Why do all of the reeds in the box feel/sound different? Remember that reed strengths are ranges. Reeds that fall between a specific range are grouped into one strength, which is why you might notice some variance among the same box of reeds. Reeds are also like snowflakes – no two are alike! If you prefer having a smaller range, you can try reeds grouped by quarter or plus strength, instead of the traditional 1/2 strength.
Reed tips
- Don’t wear lip product when playing clarinet. Any product on your lip clogs the xylems, resulting in a loss of vibrancy to the sound (and sometimes creating more resistance when you play).
- Never touch the tip of the reed. This is the thinnest and most fragile part of the reed, so it’s much more prone to chipping. Always move and hold your reeds from the sides – never the tip.
- When assembling your clarinet, always put the ligature on before the reed. Many a good reed have died an early death by ligature. The reed (along with mouthpiece and ligature) is the last thing I put on my clarinet to avoid unnecessary reed damage as I assemble the rest of the instrument.
- Be picky about placement. This won’t extend the life of your reed, but it makes a world of difference in reed response and resonance. I use this “magic trick” when working with younger players who tend to be more haphazard with reed placement. Place the reed so that it is aligned symmetrically on the mouthpiece (be sure that it is not slanted right or left). Pay careful attention to the reed placement to further maximize response. Generally, moving the reed up slightly on the mouthpiece will yield more resistance, while lowering it will yield less. You can also adjust ligature height on the reed to further improve response. Voilà! It’s like a completely new reed!
Recommended reed products & accessories
- Vandoren reeds. I’ve used Vandoren’s V12 reeds for years (specifically strength 3.5). I love Vandoren products and highly recommend them to clarinetists of all ages and ability levels!
- Juno reeds. These beginner Vandoren reeds are great if you’re just starting out on your clarinet journey.
- Vandoren Hygro case. This is a great reed case with a built-in humidity pack.
- Boveda humidity packs. I store these in my airtight sandwich container with my reeds to maintain consistent humidity.
Further reeding
- How to select a clarinet reed
- Reed Advice for Beginning Clarinetists
- Cane vs. Synthetic Clarinet Reeds – What’s the Difference?
- Let’s talk about reed rotation
- How to store your reeds to optimize performance and longevity
- No More Chipped Reeds: A Beginner’s Guide to Reed Care
- Quick Fix Friday: Reed Placement
2 Comments
Marie Craddock
Hello. I really enjoyed your article. I played clarinet for 14 years with various ensembles. However, I have not played for more than 10 years. I just recently picked up my clarinet, and was able to play it for about 12-15 minutes before I could feel my lips giving out. This was to be expected; I am completely out of practice. I am playing on a very old Legere 3 reed. I am trying to decide where I fall. As it pertains to endurance, I am a beginner again, I suppose. But I remember how to play and shockingly even remembered alternate fingerings.
Do you think I should start with Beginner reeds and work my way up gradually? Back in the day, I was exclusively using Vandoren V12 3.5 reeds. But this may have just been at the recommendation of my clarinet instructor. I feel more informed now after your article but am just uncertain where I should start. I am a veteran clarinetist who is severely out of shape. Please help!
Thanks!!
jennyclarinet
Hi Marie, Congrats on picking up your clarinet again! I hope you’re having fun playing it! I’d recommend trying a variety of reeds to see what feels and sounds best for you – if it feels too hard or resistant, try a lighter strength. I really enjoy Vandoren Juno reeds for people just starting (or re-starting) playing again! Happy practicing and all the best!