No More Chipped Reeds: A Beginner’s Guide to Reed Care
Congratulations! You’ve decided to play the most awesome instrument around – the clarinet (or maybe saxophone, which is nearly as cool as the clarinet)! Get ready, because you’re about to enter a lifelong love/hate relationship with reeds.
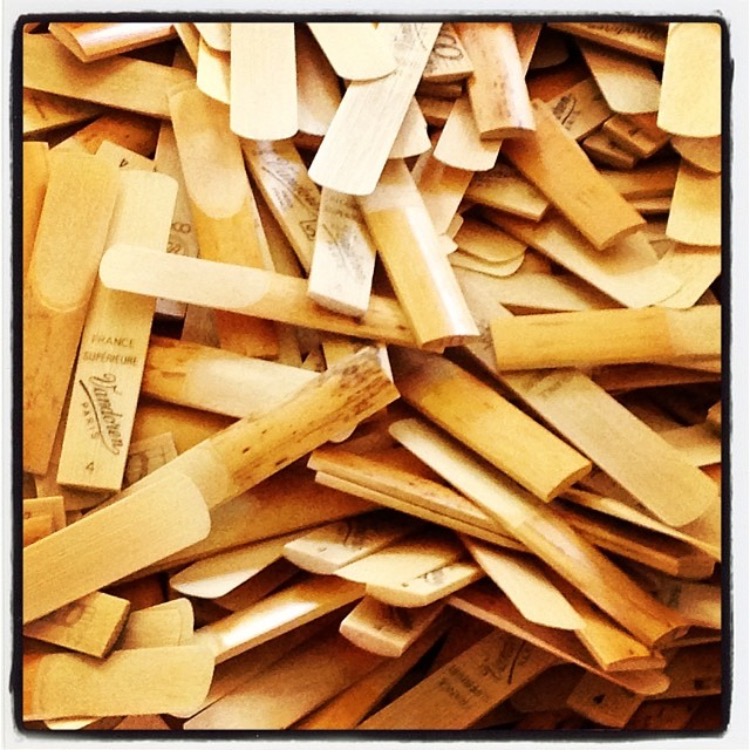
Chipped, cracked, warped, and otherwise broken reeds are an inevitability for reed players, especially beginners. The cost of reeds can quickly add up, but thankfully, there are many ways to protect and prolong the life of your reed.
Here are my reed tips (pun very much intended) for proper reed care. Please keep in mind that this is not a guide for reed adjustment or further exploration of reed science – we’ll save that for another day!
(You might also like my Complete Guide to Clarinet Reeds!)
- Use a reed case. Seems like a no-brainer, but it never fails to amaze me how many younger players just throw their reeds, sans protection, into their instrument cases. At the very least, make sure that you put your reed back into the plastic sleeve from which it came. Better yet, invest in a reed case which holds several reeds. I like the Vandoren Hygro Case or the Protect cases.
- Be careful when putting reeds in cases. Now that you’ve vowed to always put your reeds safely away in their case, make sure that you are careful when doing so! If you are storing your reeds in the plastic reed sleeves, put the bottom (thicker) end of the reed in first. Once this is secure, carefully, slide the tip in the sleeve. Remember – tips chip, so be careful. Always be careful when putting your reeds back in their cases so that you do not accidentally chip them.
- When assembling your clarinet, always put the ligature on before the reed. Many a good reed have died an early death by ligature. The reed (along with mouthpiece and ligature) is the last thing I put on my clarinet to avoid unnecessary reed damage as I assemble the rest of the instrument.
- Never touch the tip of the reed. When placing the reed on the mouthpiece, never touch the fragile tip of the reed. After you’ve put the ligature on your mouthpiece (see above), use your thumbs to adjust reed placement on the mouthpiece. You can move the reed back and forth (and up and down) by using your thumbs until you are satisfied with the placement, then tighten the ligature to secure it.
- Wipe off your lipstick, lip gloss, lip balm, or any other lip products. Lip products negatively affect reed response, so get in the habit of removing any product from your lips before playing. Bonus points if you brush your teeth and wash your hands every single time (yes, really) before playing. Your instrument (and reeds) will thank you.
- Never share reeds. While we’re on the subject of hygiene, don’t share reeds. If your friend forgot their reed and asks to borrow yours, say no to spreading germs! If you already broke this rule, use hydrogen peroxide to sterilize the reed. Better yet, just throw it out and use a new one.
- Reeds don’t like environmental changes. Vandoren reeds (and several other brands) utilize flow packs and protective packages which maintain a stable environment from the time the reed leaves the factory until it arrives in your hands. Once you open the package, creating a stable environment is up to you. Avoid exposing reeds to drastic temperature, humidity, altitude, or other environmental factors. Use humidifiers to maintain humidity levels in your reed case, and make sure that your reeds are in an airtight container, such as a re-sealable plastic bag or Tupperware container so that they are not exposed to unnecessary external changes.
- Rotate reeds regularly. You should always have a few playable (read: not chipped) reeds in your case at all times. I encourage my students to have at least 4 reeds. Get in the habit of regularly throwing out old, chipped, or bad reeds (or if you’re like one of my students, you can make a reed graveyard for dead reeds). You should always have an extra box of reeds on hand, so order a few boxes at a time to avoid running out. (Read my article to learn more about reed rotation.)
- Be picky about placement. This won’t extend the life of your reed, but it makes a world of difference in reed response and resonance. I use this “magic trick” when working with younger players who tend to be more haphazard with reed placement. Place the reed so that it is aligned symmetrically on the mouthpiece (be sure that it is not slanted right or left). Pay careful attention to the reed placement to further maximize response. You can also adjust ligature height on the reed to further improve response. Voilà! It’s like a completely new reed!
- Store reeds on a flat surface. Use reed cases with flat surfaces to avoid reed warpage, which will affect how the reed plays and responds.
- There’s no use crying over chipped reeds. Chipped reeds happen – it’s a natural part of reed-player life. Be careful, learn from your mistakes, and better luck next box.
I hope these reed tips help you prolong the lives of your reeds so they can continue playing beautiful music!
4 Comments
Dan
One thing you forgot: put the cap on the mouthpiece when you are not playing. I bet you thought it’s too obvious and so did I, until I’ve seen young players routinely forget to do it, and in one case, a young player who didn’t have a mouthpiece cap at all! I’ve also seen a young player drop the cap inside the saxophone and forget about it, then wonder why notes are flat and muffled. Never underestimate how careless people can be sometimes.
Also, hydrogen peroxide is reported to help with removing the… organic matter that builds on the reeds over time (whatever it is, the dry residue of the saliva I presume) which may prolong their life.
jennymaclay
Always put the cap back on the mouthpiece when it’s not in use! Saves a lot of reeds’ lives for beginners (and other forgetful players!)
Joseph Beverly
Thanks Jenny, this is great! Will definitely show to my younger students. :)
jennymaclay
Thanks Joseph! I’m glad you like it, and I hope it saves your students some chipped reeds!