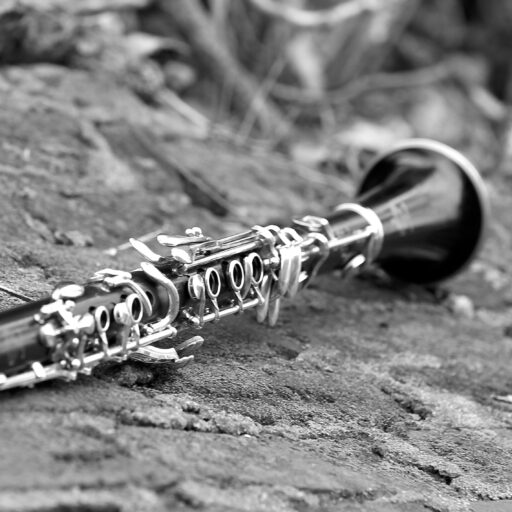
The Clarinetist’s Dictionary
Congratulations on beginning your clarinet journey!
Even though the clarinet is obviously the best instrument, it can sometimes feel overwhelming with so many different parts, pieces, and accessories!
I’ve created the following dictionary to help you understand common clarinet lingo as you navigate the wonderful world of clarinetistry!
*Please note that I’ve simplified several definitions to make them more accessible to beginners and younger students. As in many areas of music, there are additional details and nuances you will learn, but these are the most basic definitions of common clarinet terms. I’ve also linked to other articles I’ve written with more in-depth explanations on certain subjects.
- articulation (sometimes called tonguing) – when the tongue makes contact with the reed, temporarily stopping the sound (For an in-depth explanation, check out my complete guide to clarinet articulation)
- barrel – a short section of the clarinet with no cork which goes between the mouthpiece and upper joint (Check out my clarinet assembly guide here)
- bell – the curved, bell-shaped section which is connected to the lower joint
- bore – the inside of the clarinet
- cork grease – the material used to help corked sections of the clarinet assemble more easily; this can be found in tube or tub form (Please note: cork grease should not be used as lip balm, or vice versa!)
- embouchure – the position of the lips, chin, and surrounding muscles used to hold the clarinet in your mouth
- fingering – an explanation of which fingers will cover the tone holes or press the keys to produce a note
- ligature – the device which holds the reed securely against the mouthpiece; these can be made of metal, fabric, or other materials (Check out my complete guide to clarinet ligatures here)
- lower joint (sometimes called bottom joint) – this is the longer of the two keyed sections of the clarinet. Standard clarinets have a lower joint with a thumbrest and seven pinky keys (in addition to the tone holes). The right hand is placed on the lower joint. When you’re first beginning clarinet, it can be difficult to distinguish between the two larger sections of the clarinet – the lower joint has the thumbrest.
- mouthpiece – the section of the clarinet you will place in your mouth; the mouthpiece is where you place the reed and ligature
- mouthpiece cap – a plastic or metal covering to protect the mouthpiece, reed, and ligature from damage (Avoid using metal mouthpiece caps, as these can sometimes cause chips in the reed and mouthpiece unless you’re very careful when placing them on the mouthpiece.)
- mouthpiece patch – this small patch is used to cushion your top teeth and protect the mouthpiece from teeth marks and scratches; usually clear or black
- neckstrap (also appears as neck strap) – used to help support the clarinet by removing some of the weight from the hands/wrists/arms (This is not required to play clarinet, but some clarinetists prefer them. Learn more here.)
- reed – a small piece of cane which is used to produce a sound on the clarinet
- reed strength – reeds are numbered to indicate their flexibility, and these numbers typically range from 1.5 to 5+ (different companies have different strength labeling systems). I recommend beginners start with a strength 2 or 2.5 reed, and I like Vandoren and JUNO reeds.
- register key – the long, narrow key on the back of the upper joint; used to play higher notes
- squeak – an accidental high note; squeaks are very normal, especially for beginners (Here’s my guide to troubleshooting your squeaks)
- stand (sometimes called a music stand) – used to hold your music, pencil, and other small accessories (Never place your mouthpiece or clarinet on a stand – it will likely fall off and break). There are also clarinet stands (sometimes called clarinet pegs) which are used to stabilize your clarinet when you’re not holding it
- swab – a piece of fabric used to remove spit from the clarinet (Pro tip: Avoid using swabs with exposed metal weights, as these can scratch the interior of your clarinet)
- thumbrest (also appears as thumb rest) – the small piece of metal protruding from the back of the lower joint; your right thumb is placed under here to help support the clarinet
- tone hole – the round openings on the front of the clarinet where your fingers are placed
- upper joint (sometimes called top joint) – this is the shorter of the two keyed sections of the clarinet. It has the register key on the back and four keys protruding from one side. The left hand is placed on the upper joint.
I hope this helps you as you begin (or continue) your clarinet journey!
